


ATLAS Manuals

Below, you’ll discover answers to commonly asked questions about our smart solutions.
We’re committed to providing you with the information you need to make informed decisions. For more information, please don’t hesitate to email us at info@tkhsecurity.com or reach out through our contact form. We’ll be happy to assist you further.
Connect to Entra ID, accept the permissions, start synchronization, and log in to the ATLAS Web Portal.
Create an administrator account by entering your Full Name, Email, and Password, then confirm with the code sent to your email.
Log in to ATLAS Access using Single Sign-On (SSO) with your Microsoft credentials. Access the correct dashboard based on your role—admin or employee.
ATLAS employee user management is fully handled through Entra ID. Therefore, ATLAS does not need to perform any user management in parallel. All changes made in Entra ID—such as adding, removing, or deactivating users are automatically synchronized with ATLAS.
Essentials
- Entra ID license (free tier minimum)
- Microsoft 365 license with Outlook support (business basic is lowest available price)
How to connect Entra ID
All that needs to be done is to install two enterprise applications in the customer’s Entra ID environment. This process is fully automated and can be completed with a single click.

Now the enterprise applications have been created, ATLAS is ready for use! Please go to the next step to set up the user groups to define who can make use of the system.

Configure which user groups should have admin rights, and restrict admin access for others.
Within ATLAS, there are two options to synchronize user groups from Entra ID to ATLAS.
- Option 1: Based on group naming. This is supported by all subscriptions of Entra ID.
- Option 2: Directly through the enterprise application. This is supported by all paid subscriptions of Entra ID.
Option 1 (free tier) based on group naming
All groups configured in Entra ID called ATLAS will be synchronized in ATLAS.
Entra ID groups
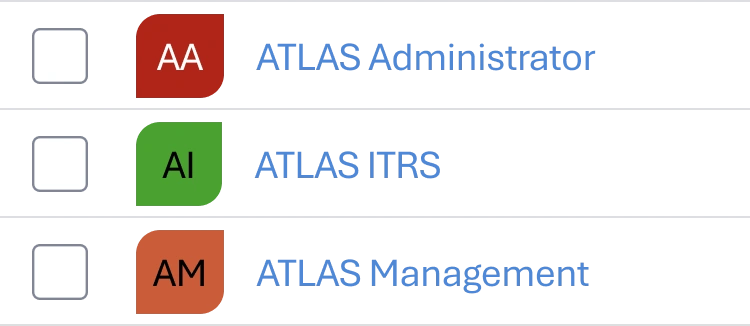
This synchronization can take up to 5 minutes.
Option 2 through enterprise application
Groups linked to the ATLAS-auth enterprise application, which is automatically set up after connecting to ATLAS, will be synchronized.

By clicking on the enterprise application, you can go to users and groups and select ‘add user/group’. here you can select any group in Entra ID, no matter the name.
Steps to execute:
- Login to Entra ID
- Go to ‘enterprise applications’
- Click on ATLAS-Auth
- In the ‘manage’ section, click on ‘users and groups’
- Click on ‘add user/group’
- Click on ‘none selected”
- Change from ‘all’ to ‘groups’
- Click on the groups you would like to select and press ‘select’
- You can now see how many groups are selected. If everything is correct, click ‘assign’.
Make sure the Global Admin is in one of the Entra ID groups for the first time login into ATLAS. ATLAS only synchronizes groups, not individual users. This synchronization can take up to 5 minutes.
Learn how to add and manage installers in ATLAS. Send invitations, use the ATLAS Config app, and manage locks seamlessly. Quick and easy steps provided.
Easily add locks with the ATLAS Config app. Discover, wake up, and configure locks in a few simple steps. Manage and rename locks in the ATLAS Web app.
Learn how to remove locks in ATLAS. Use the ATLAS Config app to reset locks to factory settings in a few steps. Simple and effective lock management.
Easily sync locks in ATLAS Config. Update settings, sync internal clocks, or add calamity cards. Quick and simple lock synchronization in a few steps.
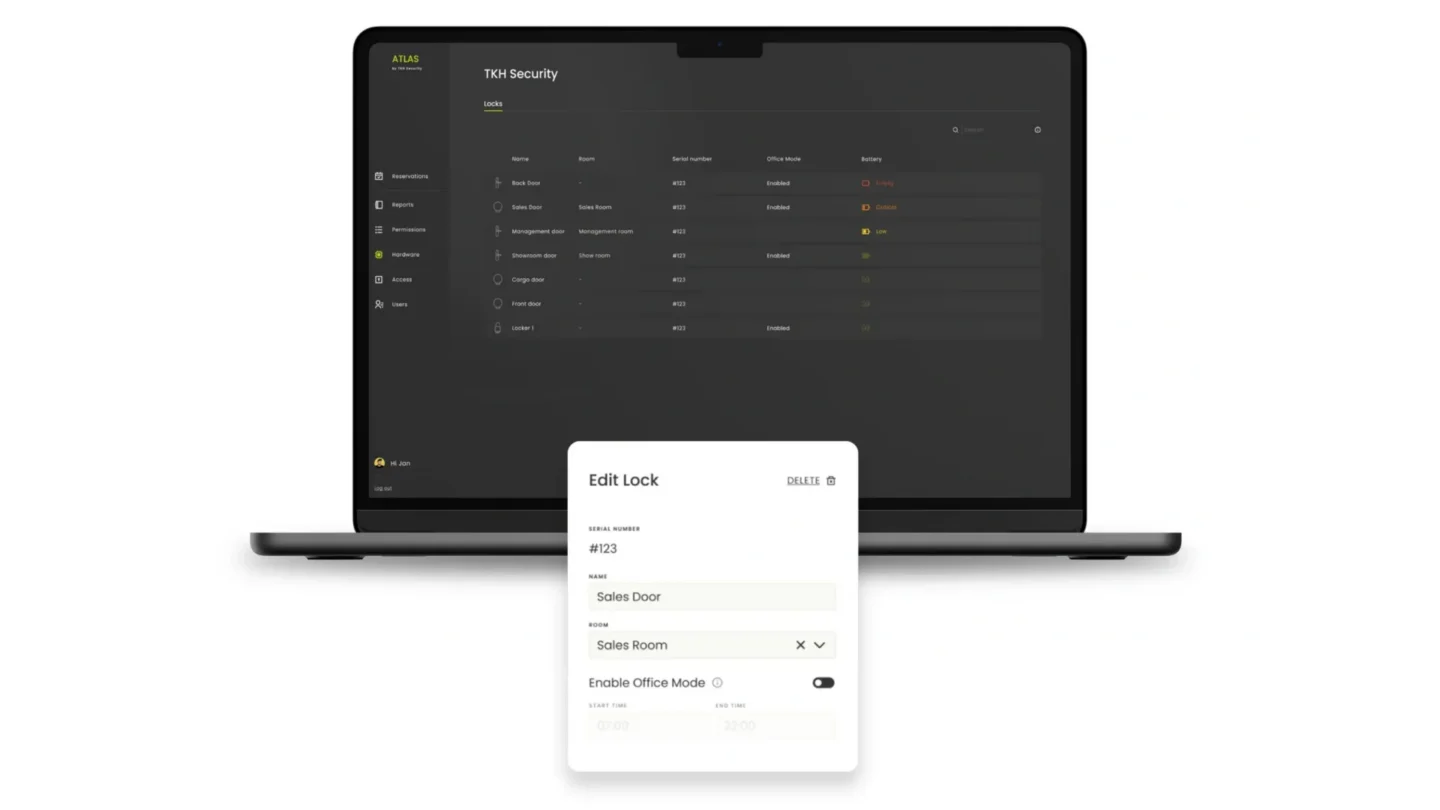
Locks being added by the ATLAS Config app can be configured by clicking on them. All locks are listed in the ‘Locks’ list where the configuration is visible.
Serial number - Unique number of the lock cannot be changed.
Name - Name of the door.
Room - Outlook rooms can be connected. The moment a room is connected, it will be used for the purpose of visitor management. Rooms shown in the drop down are synchronized from Outlook.
Enable Office mode - Here, ‘Office mode’ can be enabled (this is a setting per door). Users with the permission to enable/disable Office mode through the ATLAS Access app can do so. The start-end time sets the time when Office mode is allowed. When the scheduled end-time is reached, Office mode will automatically deactivate.
External users are typically individuals who visit the office regularly for work purposes but are not part of Active Directory. As a result, they cannot log in to the ATLAS self-service portal.
Adding an external user - External users can be added manually in this section.
Step 1: create a group
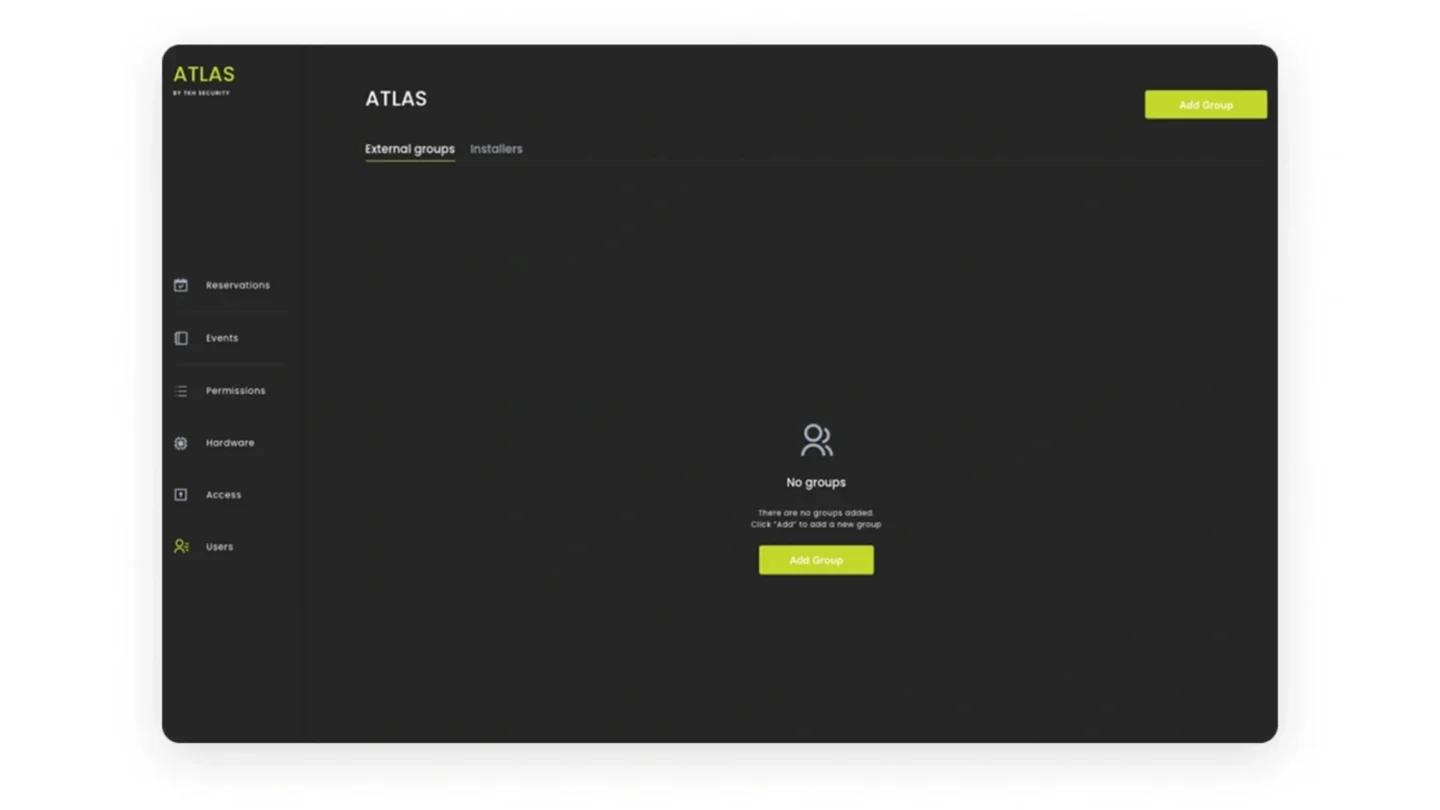
Step 2: add external users to a group

Registration
After adding an external user, an email is automatically sent to their address containing a registration QR code. This allows the external user to connect to their ATLAS app. Please see ATLAS Access for more information about the app.
Supported features:
- Status: here, it’s visible if an external user registered their ATLAS Access app or not.
- Group: here, you can see the group the external user is part of. By clicking on the move button, an external user can be moved to another external user group.
- Resend invitation: when a device has the status ‘disconnected’ it’s possible to resend the invite (email).
- Expiration date: for each external user, it’s possible to set an end-date when access will no longer be granted.

ATLAS provides a self-service portal where employees can register and de-register their mobile devices without the help of a system admin. Since ATLAS utilizes mobile, there is no need for physical card-management anymore.
Register your mobile device
When an employee logs into ATLAS, ATLAS will check if a mobile device is registered. If not, the employee will be asked to register a mobile device first by showing the personal registration QR code.

Swap your mobile device
Sometimes an employee will get a new mobile device. Therefore, it’s possible to swap it within the ATLAS portal and register your new mobile device by clicking on ‘My Profile’
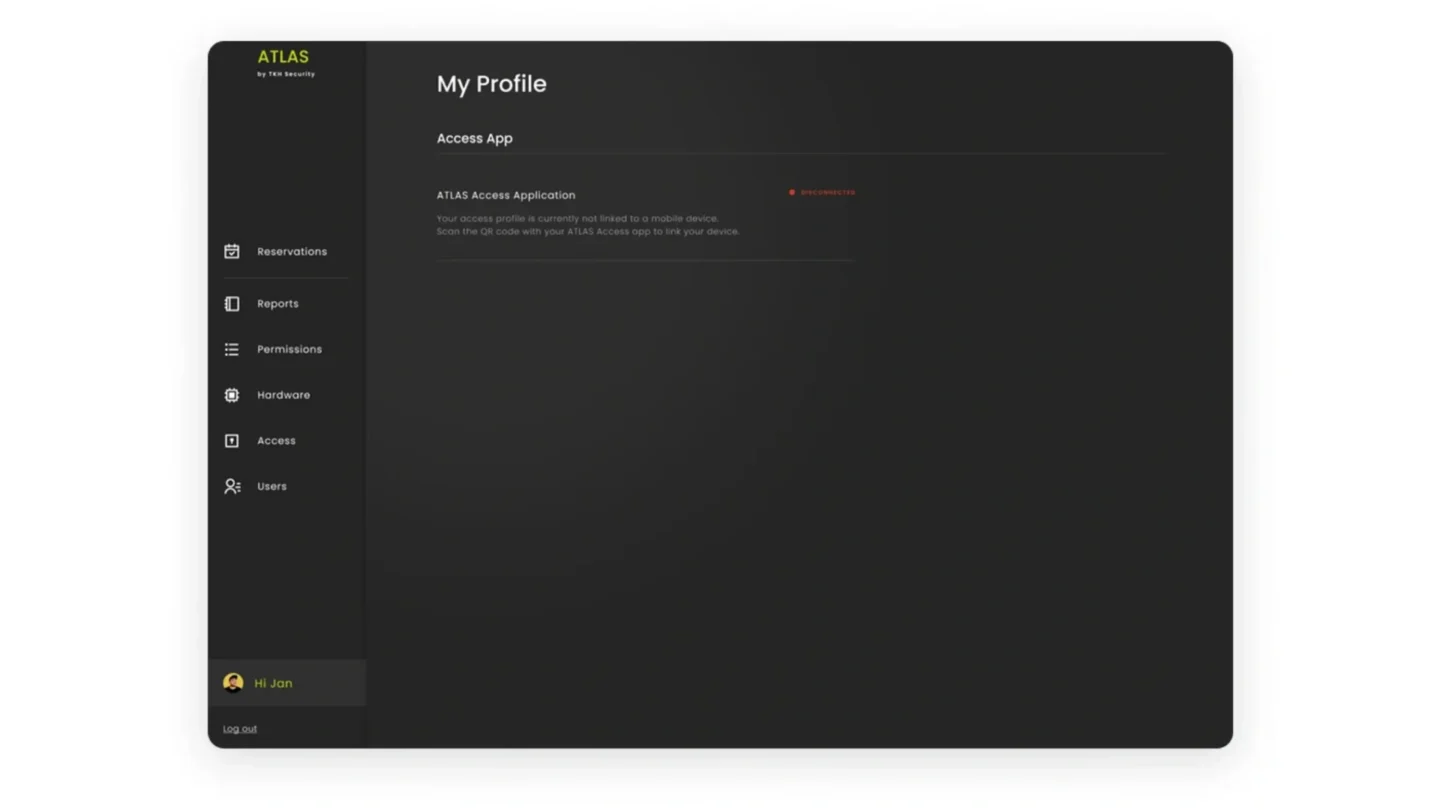
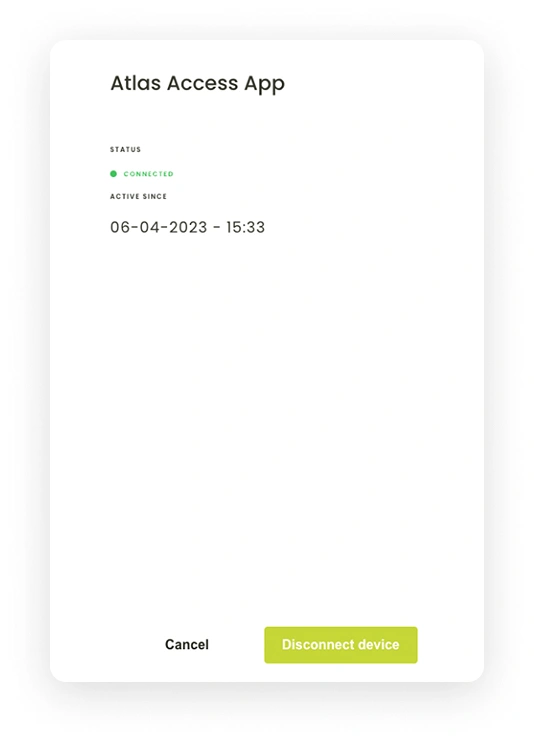
When the employee hovers over their mobile device in the portal and clicks EDIT, a drawer will appear. From there, the current device can be disconnected, and a new QR code will be generated.
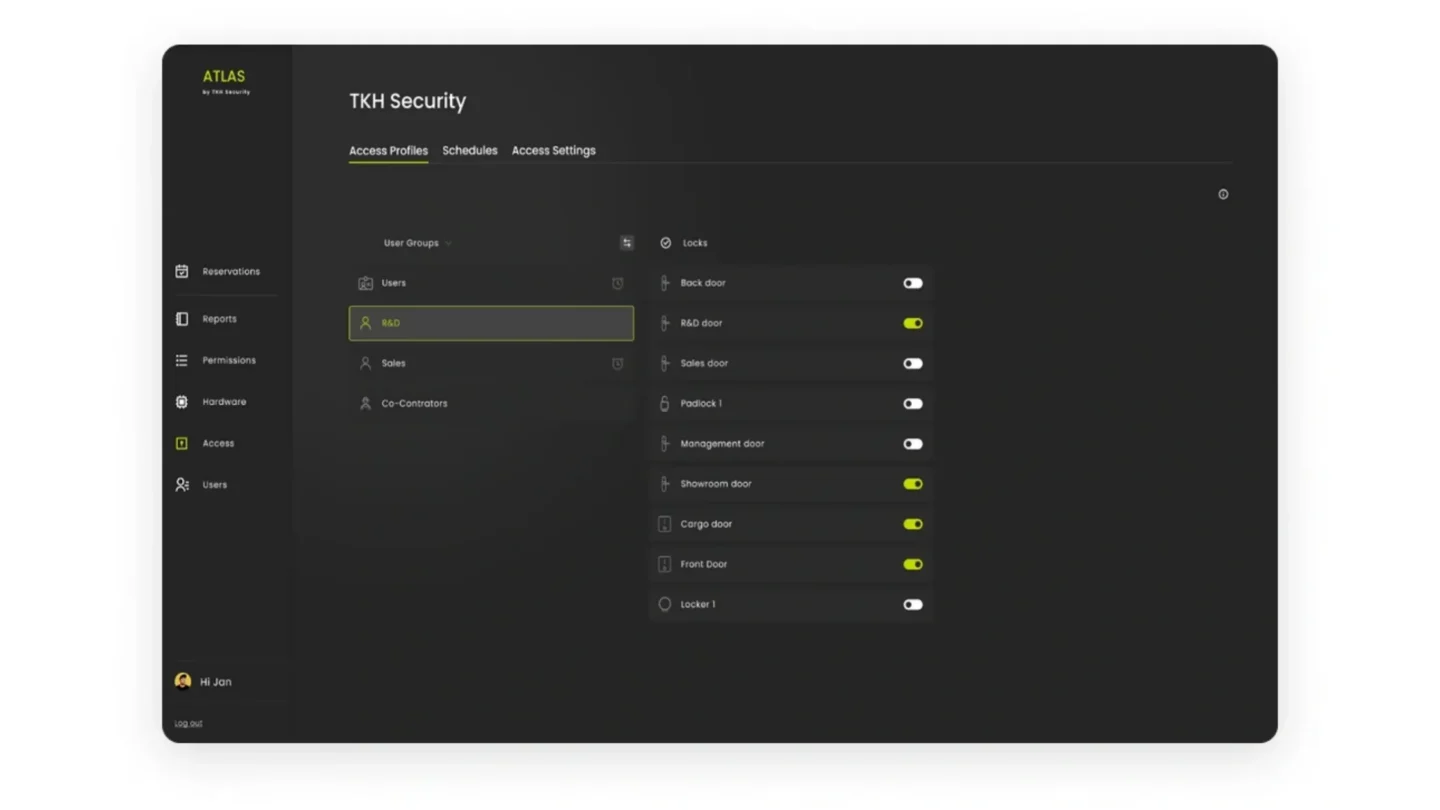
The purpose of access profiles is to set up which user group can access which doors. The access section is divided into three sections, Access profiles, Schedules, and Access settings.
Access profiles
In the Access Profile section, user groups can be connected to locks, giving them access rights to those specific locks. You can switch the view to see either users with their assigned locks or locks with their assigned users.
Schedules
In the schedule section, time restrictions can be set per user group.

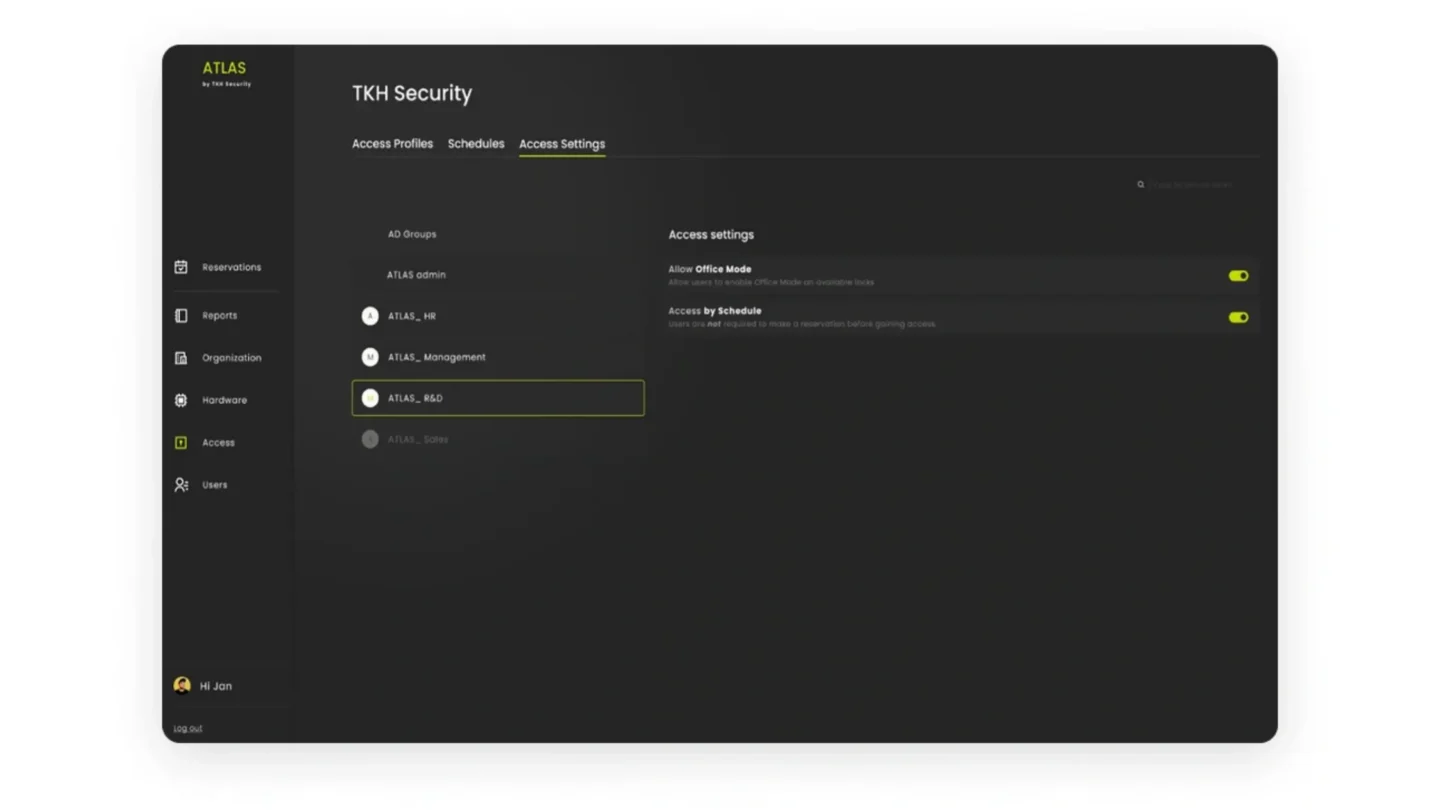
Access settings
On the access settings page, additional permissions can be given per user group.
ATLAS reservation required
Require users to make a reservation in the ATLAS Portal to get access during scheduled time and access to all doors within her/his user group.